An open source automation server that automates the repetitive technical tasks involved in the continuous integration and delivery of software.
Prerequisites
- A non-root sudo user
- A firewall
- Atleast 1 GB RAM
Install jenkins
- Add Repository key
- wget -q -O – https://pkg.jenkins.io/debian-stable/jenkins.io.key | sudo apt-key add –
- Append the Debian package repository address to the server’s sources.list
- sudo sh -c ‘echo deb http://pkg.jenkins.io/debian-stable binary/ > /etc/apt/sources.list.d/jenkins.list’
- Next update apt
- sudo apt update
- Install Jenkins
- sudo apt install jenkins
Starting Jenkins
- sudo systemctl start jenkins
To verify if Jenkins started or not
- sudo systemctl status jenkins
If everything gone well,output will show as follows
Output
- jenkins.service – LSB: Start Jenkins at boot time
Loaded: loaded (/etc/init.d/jenkins; generated)
Active: active (exited) since Fri 2020-06-05 21:21:46 UTC; 45s ago
Docs: man:systemd-sysv-generator(8)
Tasks: 0 (limit: 1137)
CGroup: /system.slice/jenkins.service
Now let’s adjust our firewall rules:
- Sudo ufw allow 8080
- sudo ufw allow OpenSSH
- sudo ufw enable
We can check status of ufw to confirm new rules
- Sudo ufw status
Output
Status: active
To Action From
— —— —-
OpenSSH ALLOW Anywhere
8080 ALLOW Anywhere
OpenSSH (v6) ALLOW Anywhere (v6)
8080 (v6) ALLOW Anywhere (v6)
Setting up Jenkins
Visit Jenkins using http://your_server_ip_or_domain:8080
It will display Unlock Jenkins screen asking Administrator password and location of initial password
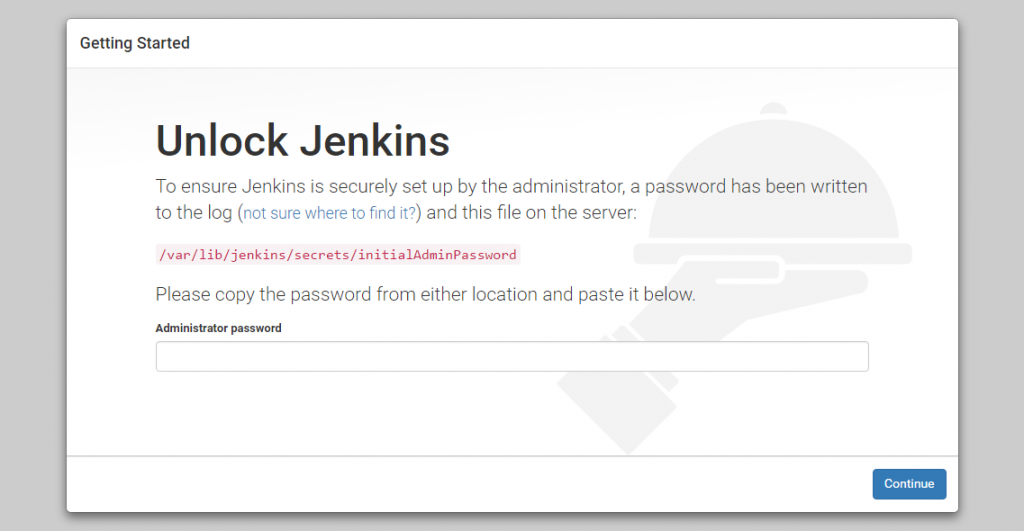
Get password through terminal using,
- sudo cat /var/lib/jenkins/secrets/initialAdminPassword
After copy pasting password to screen,next screen to install plugins will appear
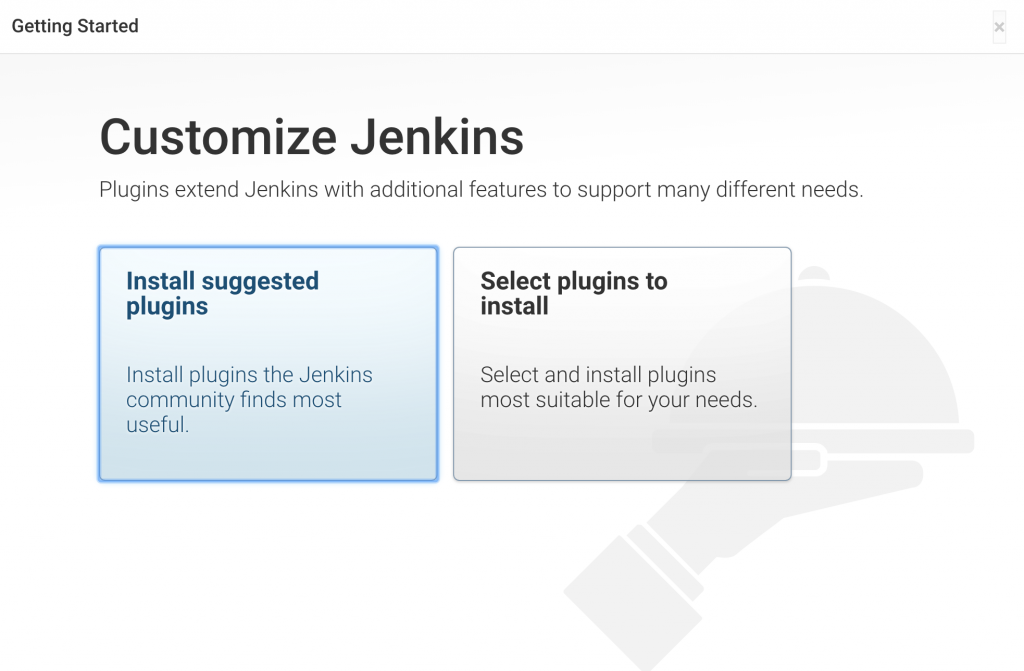
Installation process begin immediately
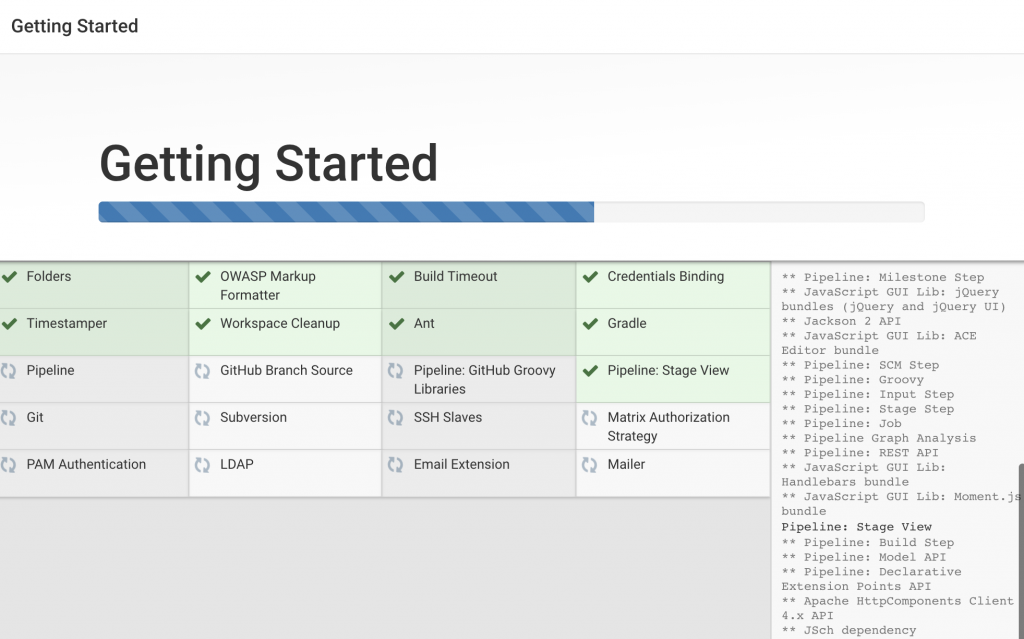
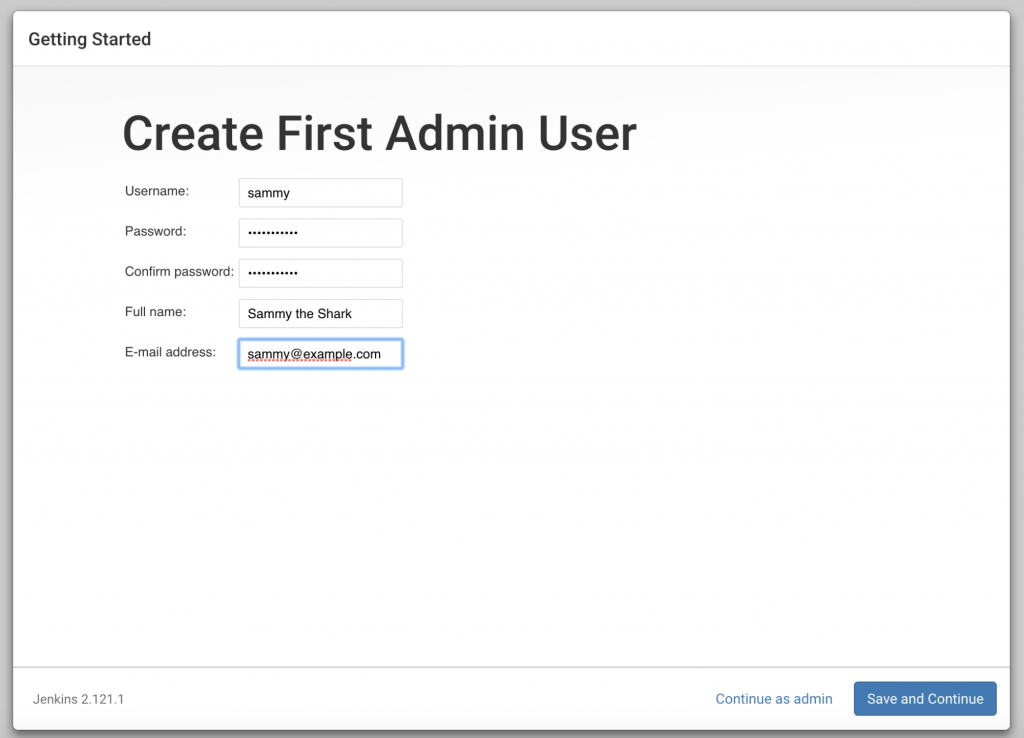
After successful completion of installation, the next screen will appear asking to set up the first administrative user.
Either you can continue with admin and initial password or create a new user
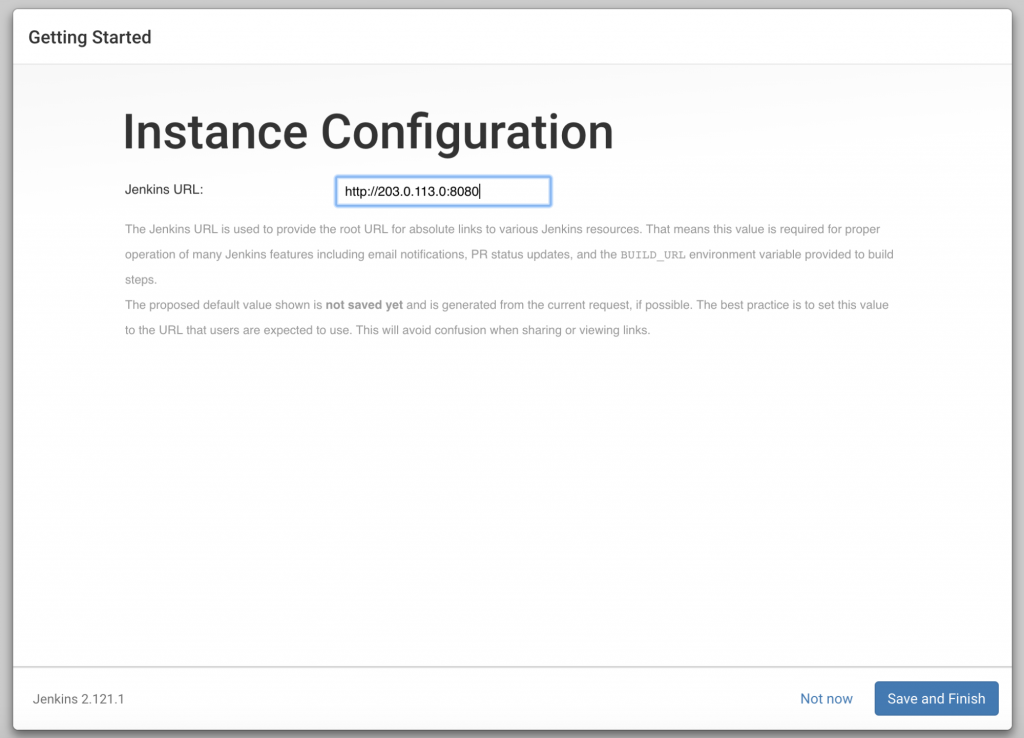
Next an instance Configuration page will appear asking you to confirm your URL for Jenkins instance.
- Either you can give domain name or your server’sIP address
A confirmation page showing Jenkins is Ready will appear
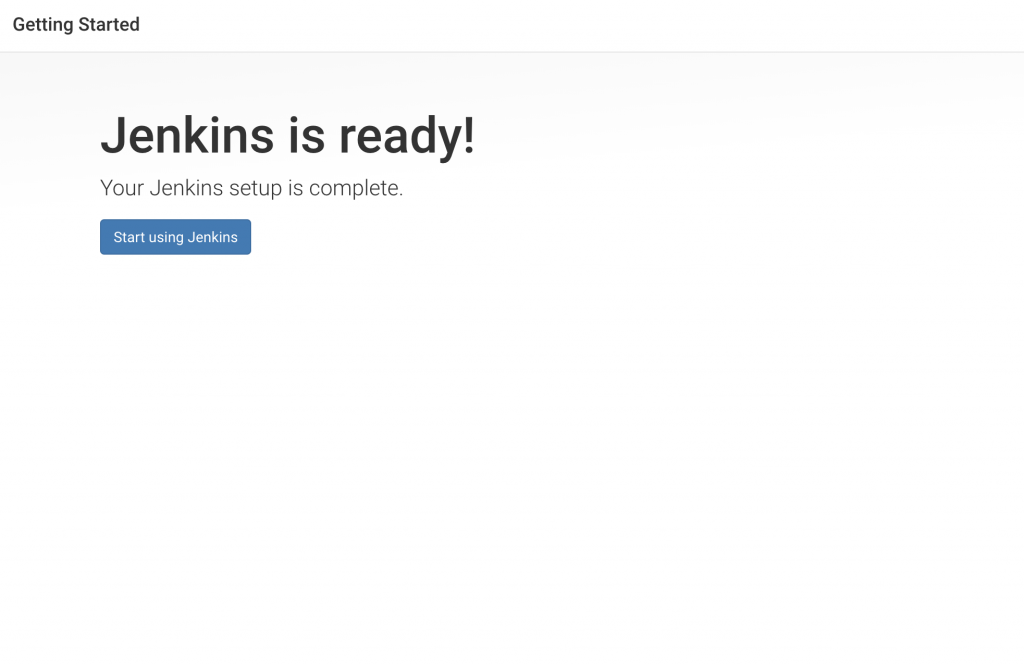
- Click Start using Jenkins
Now Jenkins main dashboard will come.At this point you have successfully completed Jenkins installation.