Zabbix Host Add
Install zabbix agent on the remote server by the documentation link given below.
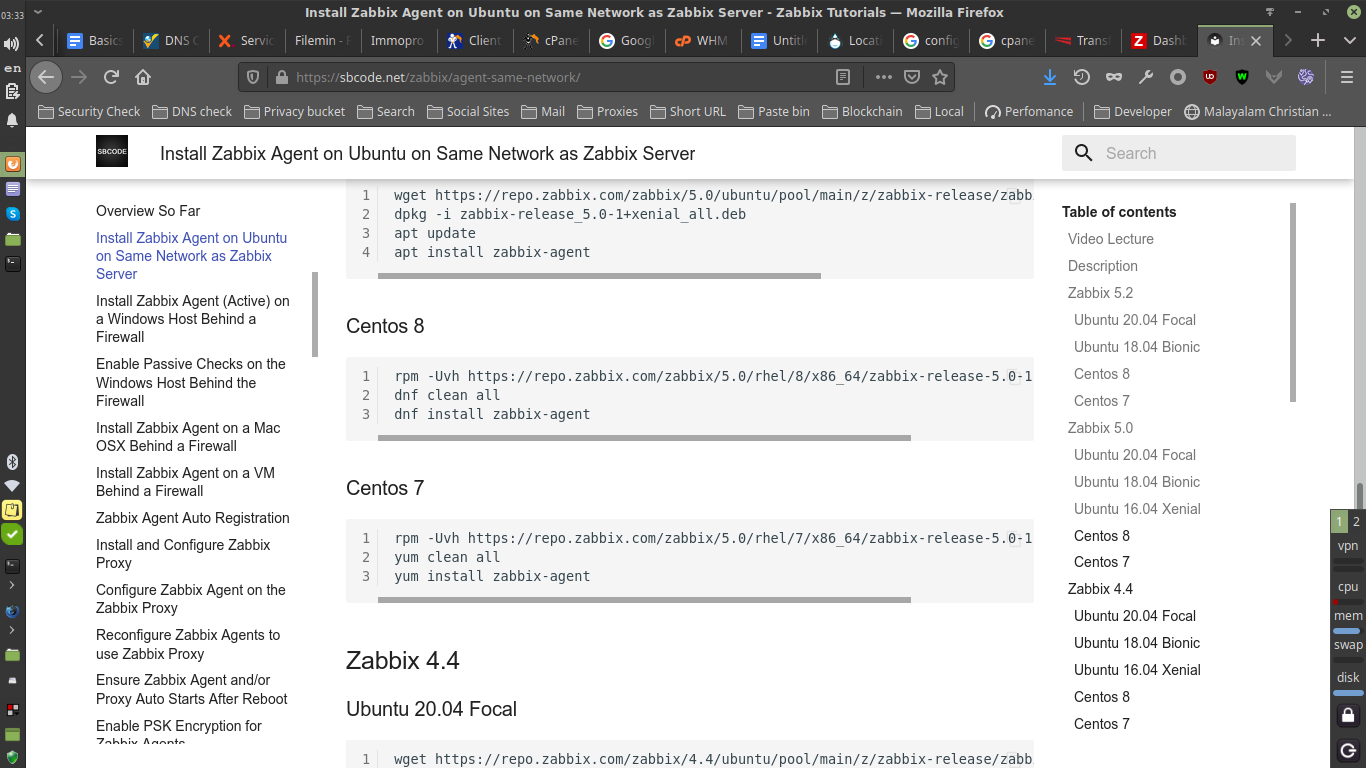
link : https://sbcode.net/zabbix/agent-same-network/
From this doc we can select appropriate steps to install zabbix-agent on different Operating systems.
For the purpose of our documentation I am selecting a centos 7 server (zabbix 5.0 section ).
Login to the remote server and execute the following commands
#rpm -Uvh https://repo.zabbix.com/zabbix/5.0/rhel/7/x86_64/zabbix-release-5.0-1.el7.noarch.rpm
#yum clean all
#yum install zabbix-agent
Then before editing the configuration file take a backup.
#cp /etc/zabbix/zabbix_agentd.conf /etc/zabbix/zabbix_agentd.conf_back
Then open the configuration file add appropriate values as given below.
#vi /etc/zabbix/zabbix_agentd.conf
Server=zabbix.spotfixcrew.com
ServerActive=zabbix.spotfixcrew.com
Hostname=(server hostname)
Then restart the service
#systemctl restart zabbix-agent.service
#systemctl status zabbix-agent.service
Now goto Zabbix Dashboard > Configuration > Hosts > Create Host
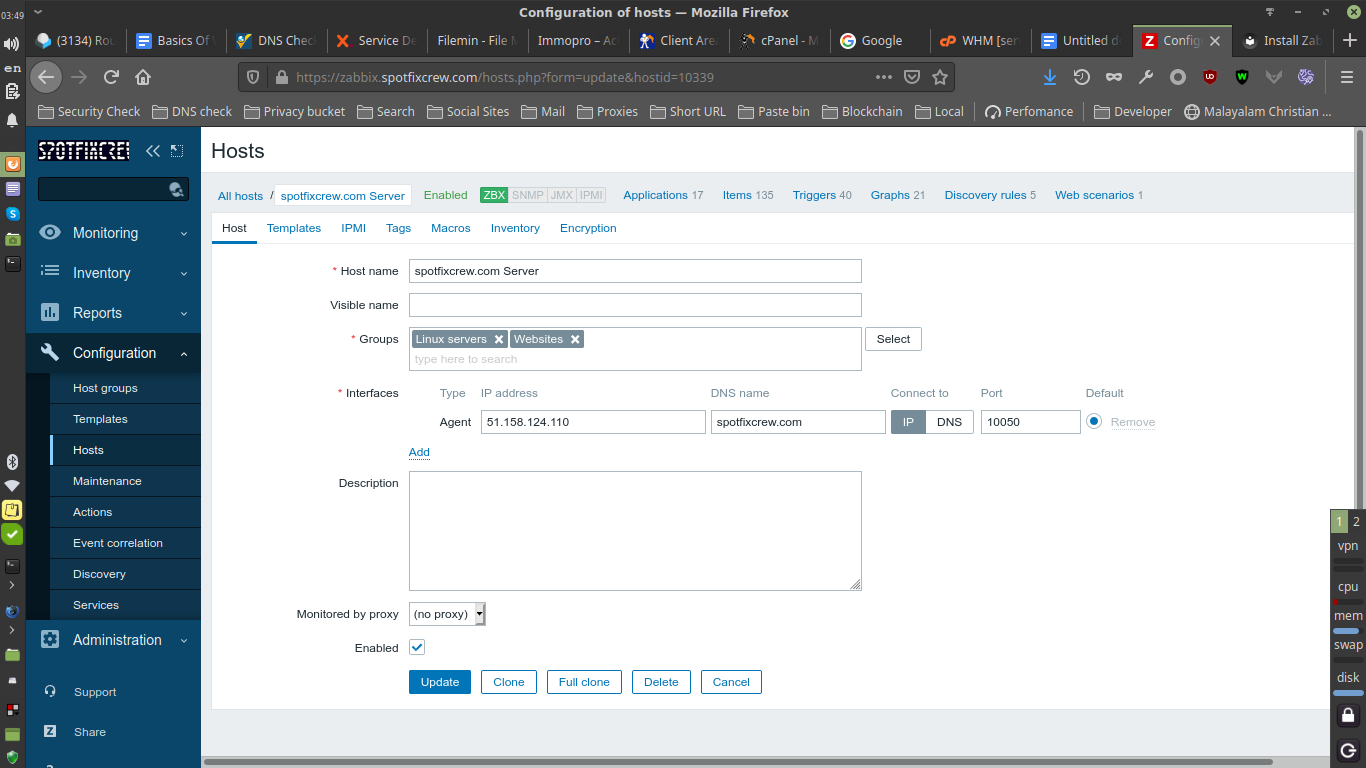
Then give appropriate details as given above. We can add our host to different groups. Also connection to the host can be selected ( IP or Hostname ) on the ‘connect to’ section.
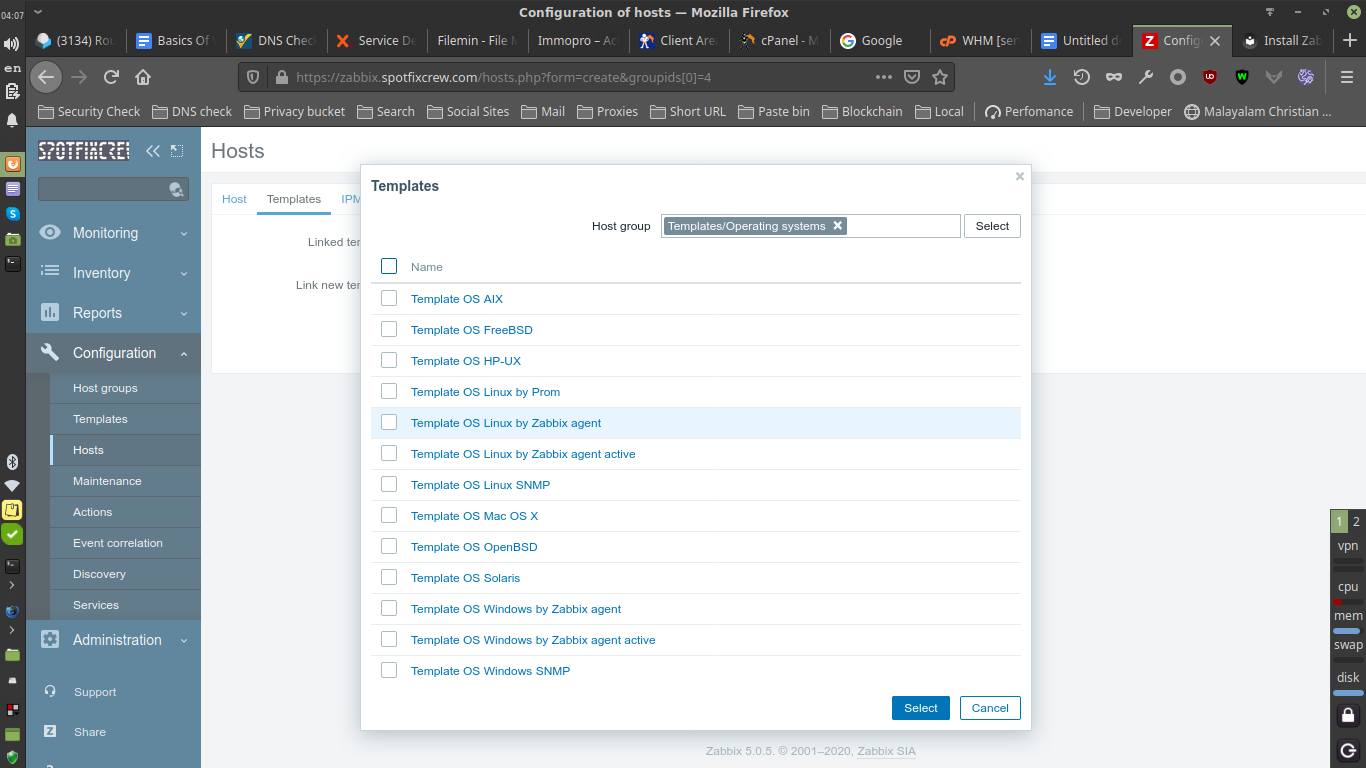
Now we need to configure Templates. For that select the Templates section and click ‘select’.
Then select the ‘Template OS Linux by Zabbix agent’ option.
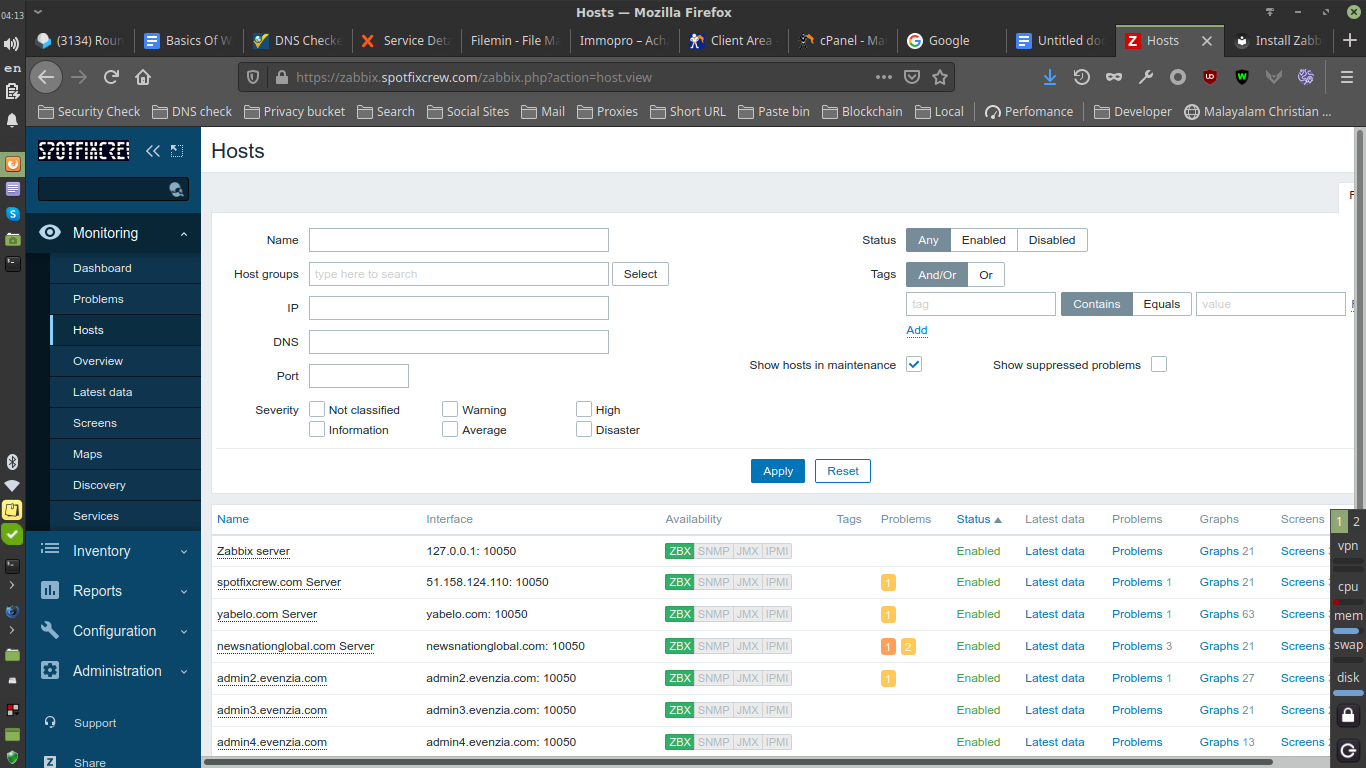
Now click ‘Add’ button to create new Host. Wait for 2 minute and our host will connect.
We can verify by the green colour in Availability section.
If our remote server is under firewall, we need to open port 10050 for proper working
Add Dedicated User
First see in which Host Group our host is included. Assign a dedicated Host group for our Host.
We can see our host in Configuration > Host groups.
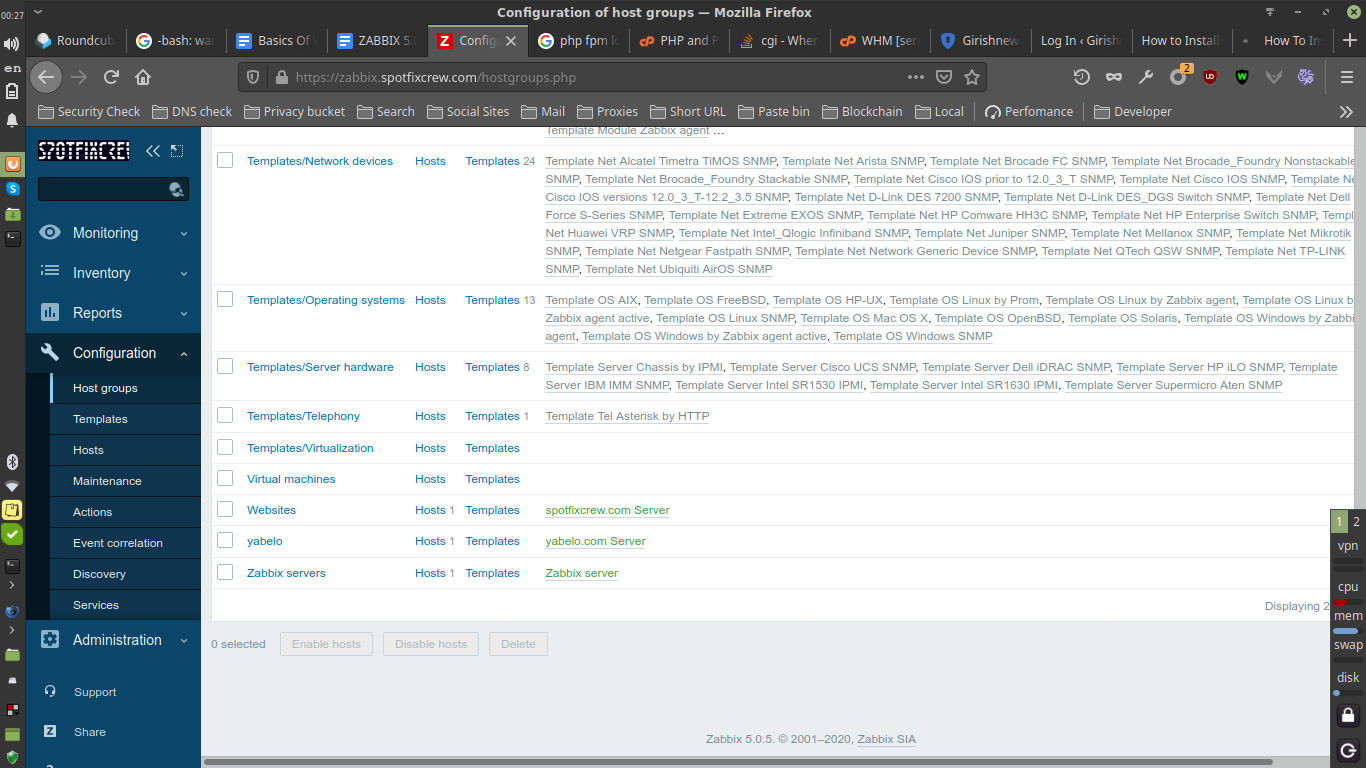
For the purpose of documentation we are taking our host as ‘Spotfixcrew.com’ and its Host group is ‘websites’.
Now we need to create new User group. For that go to Administration > User groups.
Then click ‘Create user group’. Give a Group name.

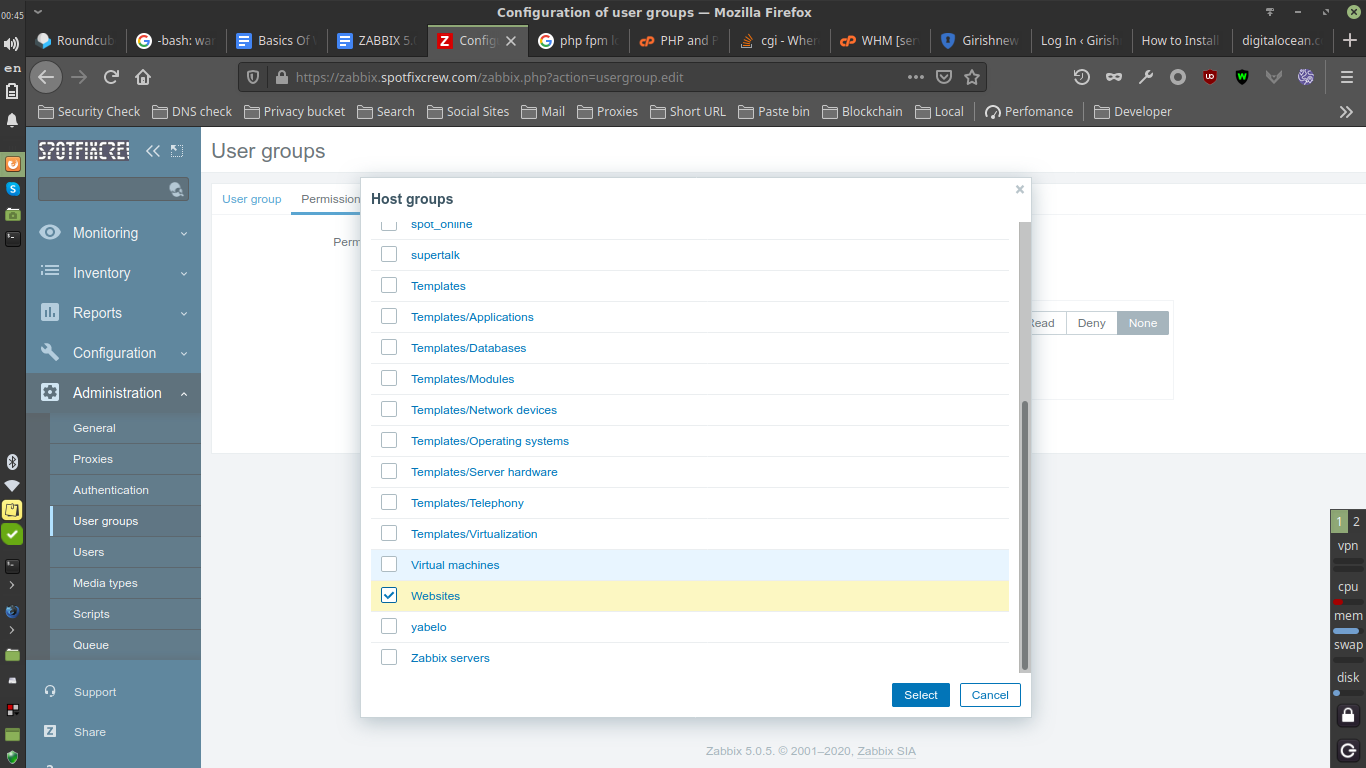
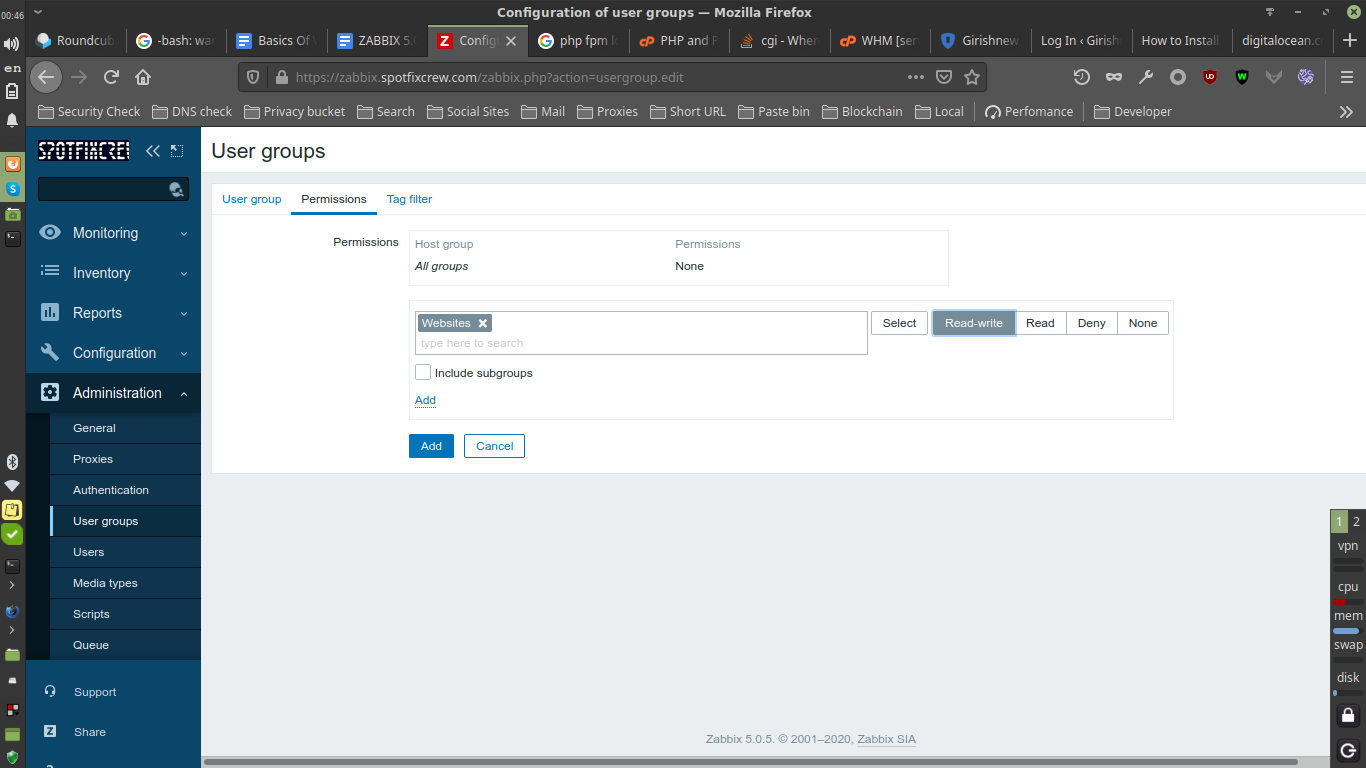
Then click permissions and click select. Now select appropriate Host group from the list and click ‘select’.
Now select the Read-write option and click add (first add). Then click second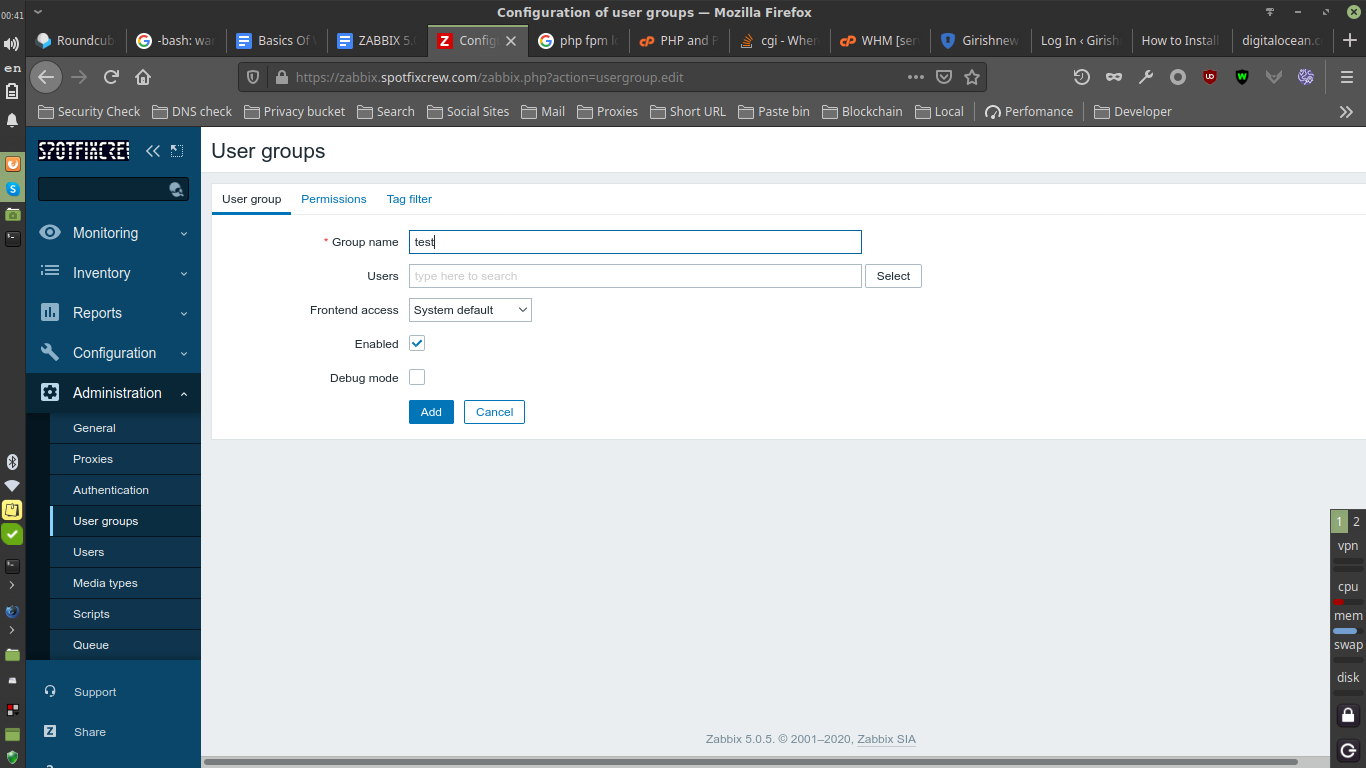
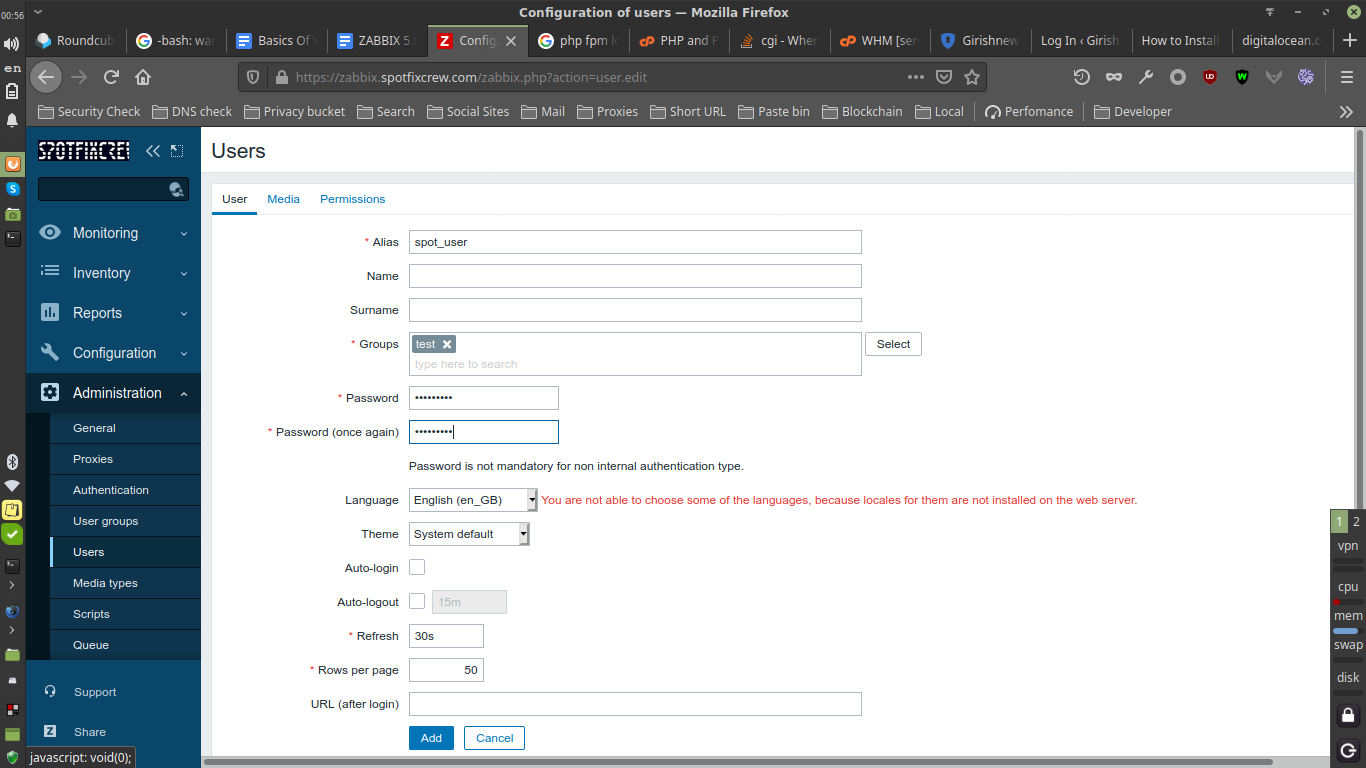
Now we can create new dedicated user for Spotfixcrew.com Host. For that go to
Administration > Users. Click Create user.
Now give user name on ‘Alias’ table. Select our User group in Groups section. Also give password. Then click Add.
Now Login to Zabbix Dashboard with new user and password. The Hosts section will show only 1 Host that our user can access.