INTRODECTION
Magento is the most popular open-source e-commerce store application. It is written in PHP and uses a MySQL/MariaDB database server. It is fully customizable which gives you the ability to customize the look, functionality and content of the store. It also comes with thousands of easy to install plugins and layouts. It is very secure and fully SEO ready. In this tutorial, we will install Magento 2.3 using Apache web server, PHP 7.2 and MariaDB 10.3.
Step 1: Installing Apache Web Server
- Installing Apache web server is so simple, from the official repositories:
# yum install httpd
Step 2: Install PHP Support for Apache
- To install PHP 7, you need to add the EPEL and IUS (Inline with Upstream Stable) repository in order to install PHP 7 using yum:
# yum install -y http://dl.iuscommunity.org/pub/ius/stable/CentOS/7/x86_64/ius-release-1.0-14.ius.centos7.noarch.rpm
# yum -y update
# yum -y install php70u php70u-pdo php70u-mysqlnd php70u-opcache php70u-xml php70u-mcrypt php70u-gd php70u-devel php70u-mysql php70u-intl php70u-mbstring php70u-bcmath php70u-json php70u-iconv
- Next, open and modify the following settings in your /etc/php.ini file:
max_input_time = 30
memory_limit= 512M
error_reporting = E_COMPILE_ERROR|E_RECOVERABLE_ERROR|E_ERROR|E_CORE_ERROR
error_log = /var/log/php/error.log
date.timezone = Asia/Calcutta
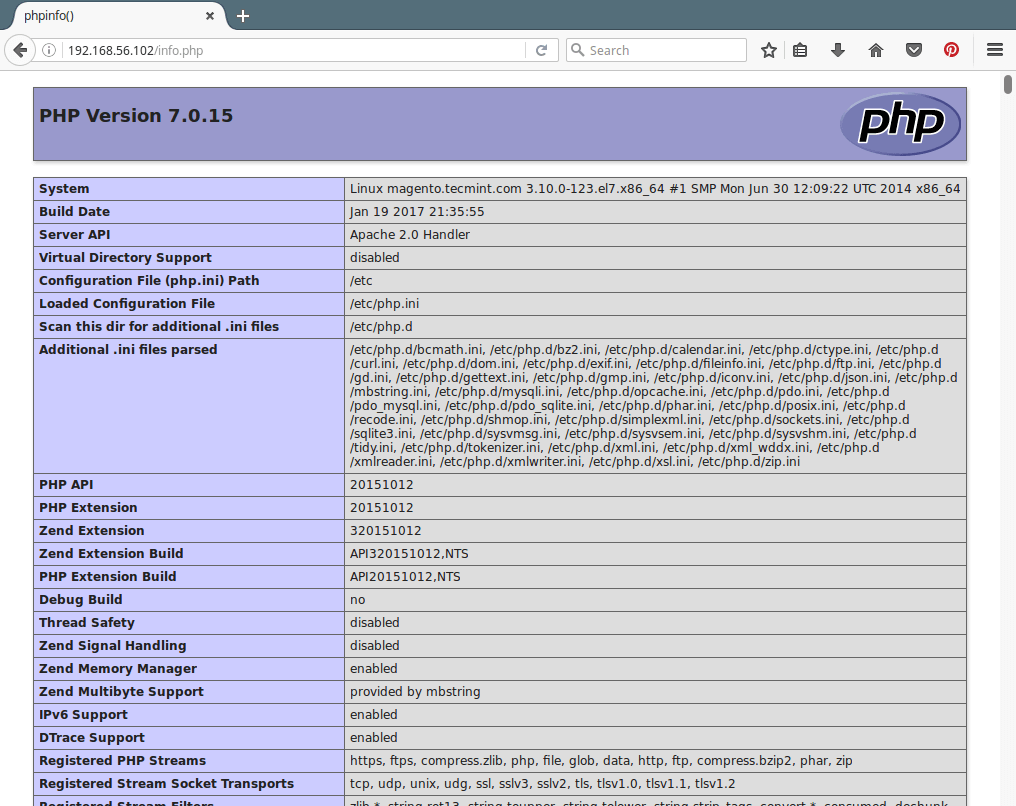
- Next, to retrieve complete info concerning the PHP installation and all its current configurations from a web browser, let’s create a info.php file in the Apache DocumentRoot (/var/www/html) using the following command.
# echo “<?php phpinfo(); ?>” > /var/www/html/info.php
- Once all the required configuration completes, it’s time to start the Apache service and enable it to start automatically from the next system boot as well like so:
# systemctl start httpd
# systemctl enable httpd
- Next, we can verify that Apache and PHP are working fine; open a remote browser and type your server IP Address using HTTP protocol in the URL and the default Apache2 and PHP info page should appear.
http://server_domain_name_or_IP/
http://server_domain_name_or_IP/info.php
Step 3: Install and Configure MariaDB Database
- To install MariaDB database, we need to add the following official MariaDB repository to file /etc/yum.repos.d/MariaDB.repo as shown.
[mariadb]
name = MariaDB
baseurl = http://yum.mariadb.org/10.1/centos7-amd64
gpgkey=https://yum.mariadb.org/RPM-GPG-KEY-MariaDB
gpgcheck=1
- Once the repo file in created, we are now able to install MariaDB as follows:
# yum install mariadb-server mariadb
OR
# yum install MariaDB-server MariaDB-client
- After the installation of MariaDB packages completes, start the database daemon for the meantime and enable it to start automatically at the next boot.
# systemctl start mariadb
# systemctl enable mariadb
- Next create a magento database and user as shown.
# mysql -u root -p
mysql> CREATE USER magento@localhost IDENTIFIED BY “your_password_here”;
mysql> create database magento;
mysql> GRANT ALL ON magento.* TO magento@localhost;
mysql> FLUSH PRIVILEGES;
mysql> exit
Step 4: Install Magento Community Edition
- Now, go to the Magento official website, and create a user account in case you are a new customer.(or simply login if you already have an account) and download the latest version of Magento Community Edition.
http://www.magentocommerce.com/download
- After you download Magento tar file, extract the contents into the Apache Document Root (/var/www/html) as follows:
# tar -zxvf Magento-CE-2.1.5-2017-02-20-05-36-16.tar.gz -C /var/www/html/
- Now you need to set Apache ownership to the files and folders.
# chown -R apache:apache /var/www/html/
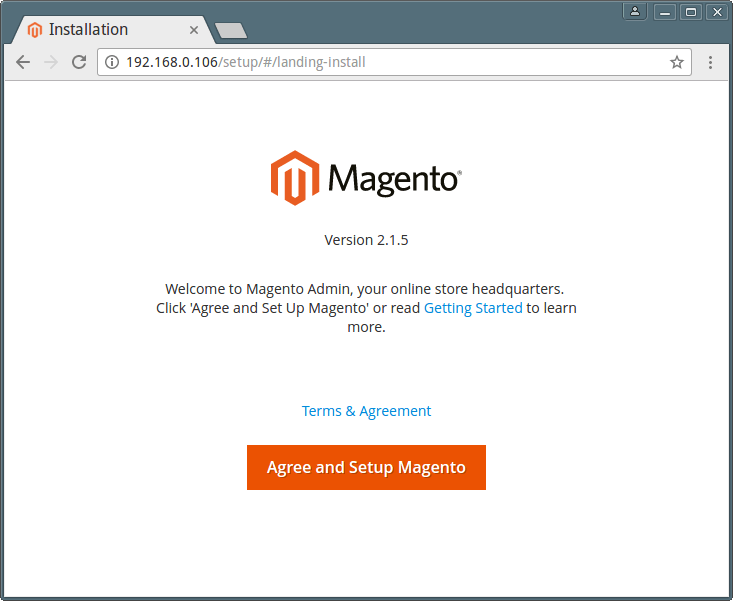
- Now open your browser and navigate to the following url, you will be presented with the Magento installation wizard.
http://server_domain_name_or_IP/
- Next, the wizard will carry a Readiness Check for the correct PHP version, file permissions and compatibility.
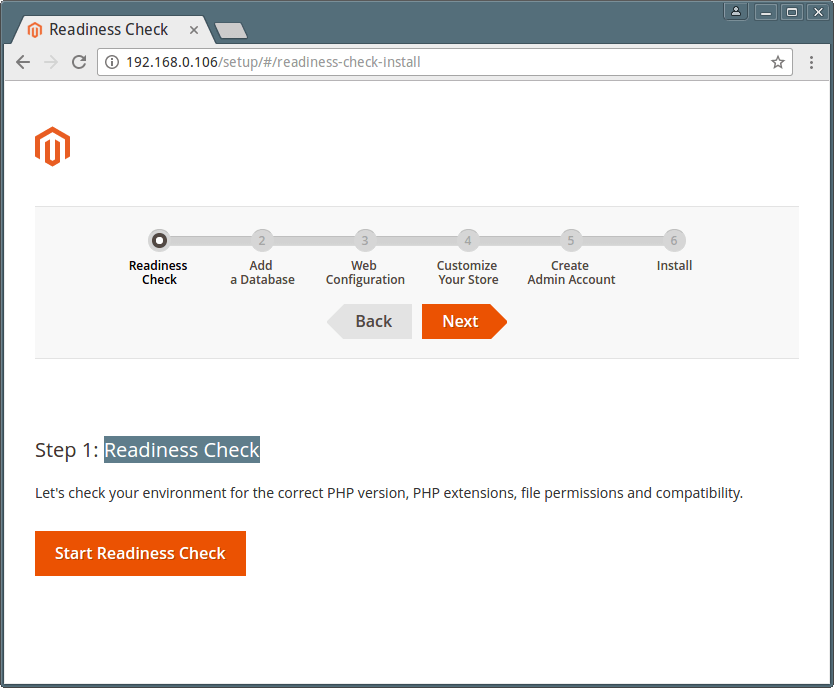
Magento Readiness Check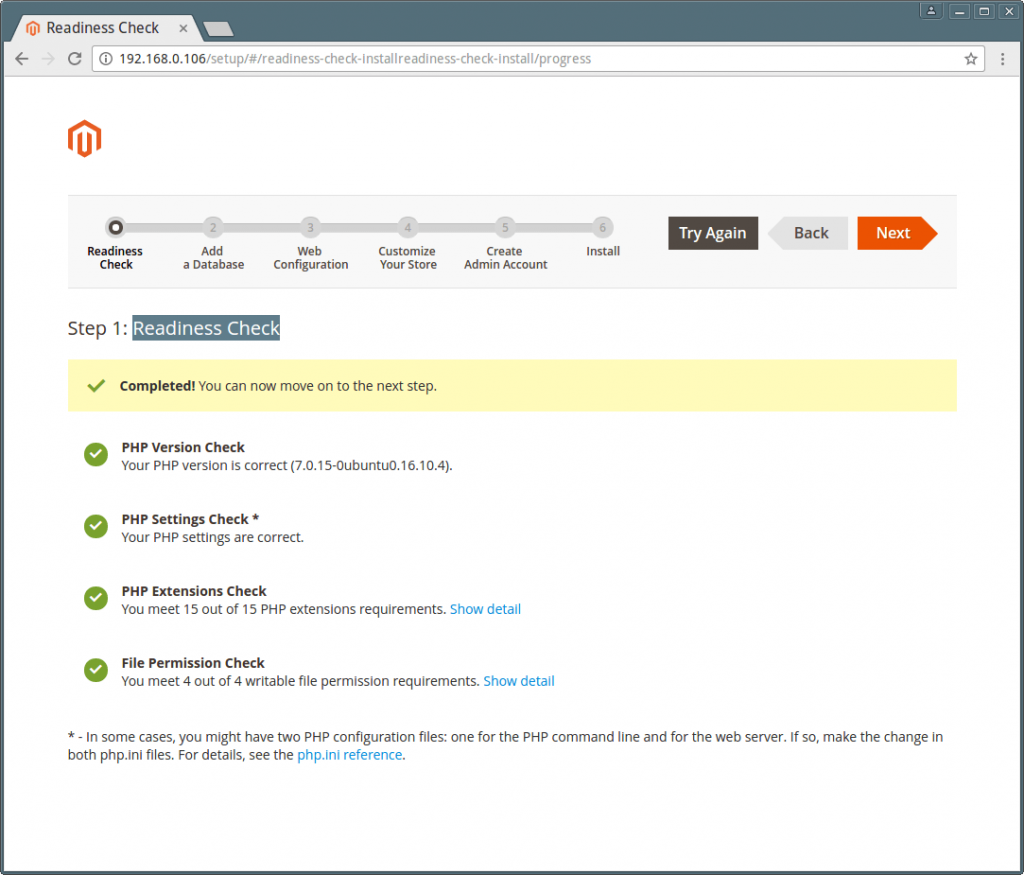
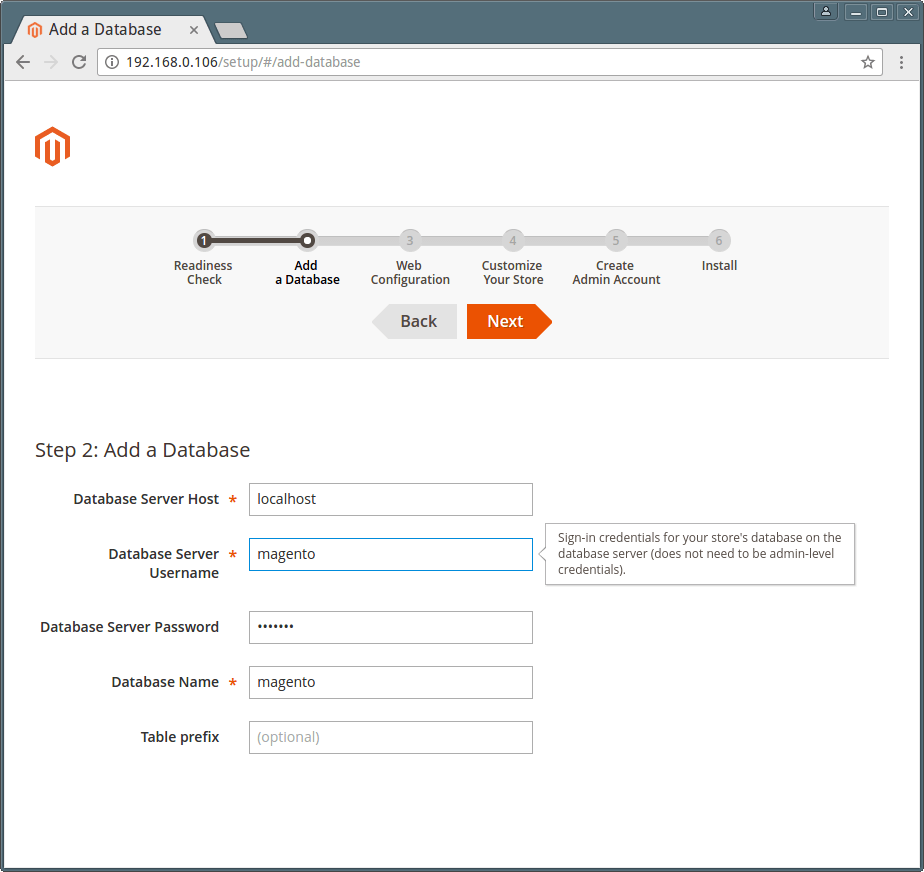
- Enter magento database settings.
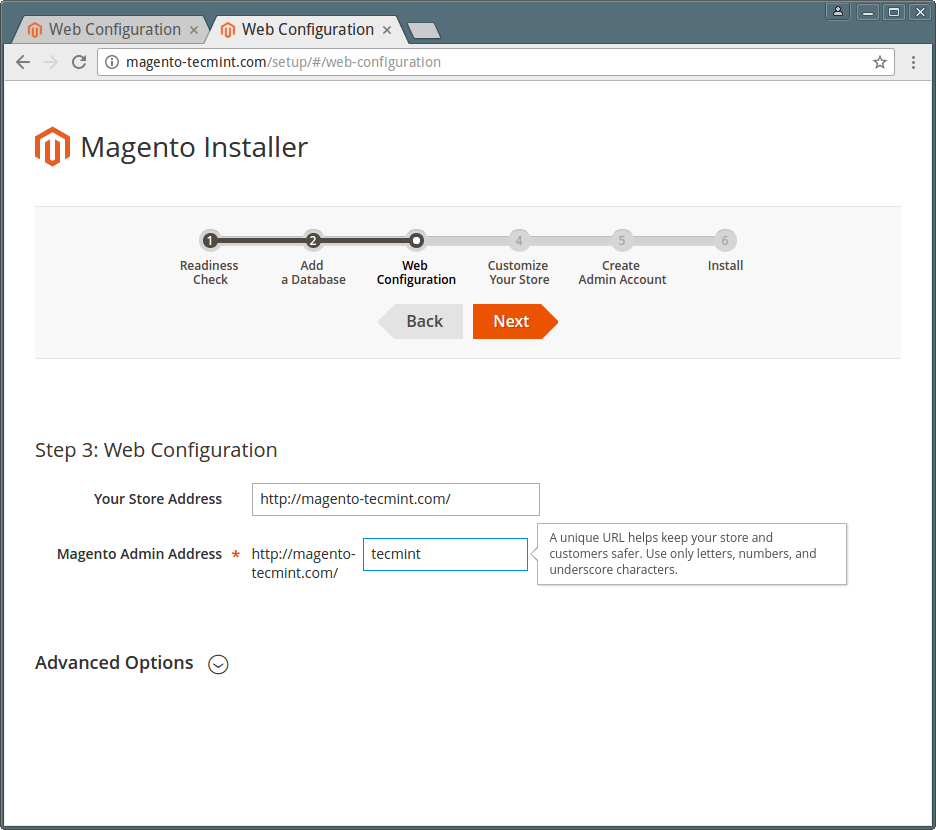
- Magento Web site configuration.
- Customize your Magento store by setting timezone, currency and language.
- Create a new Admin account to manage your Magento store.
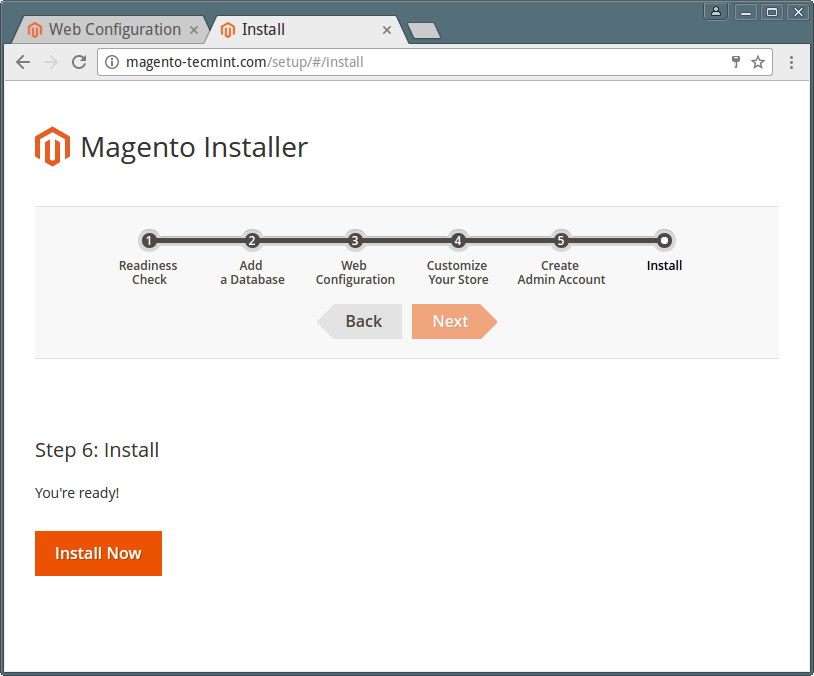
- Now click ‘Install Now‘ to continue Magento installation.
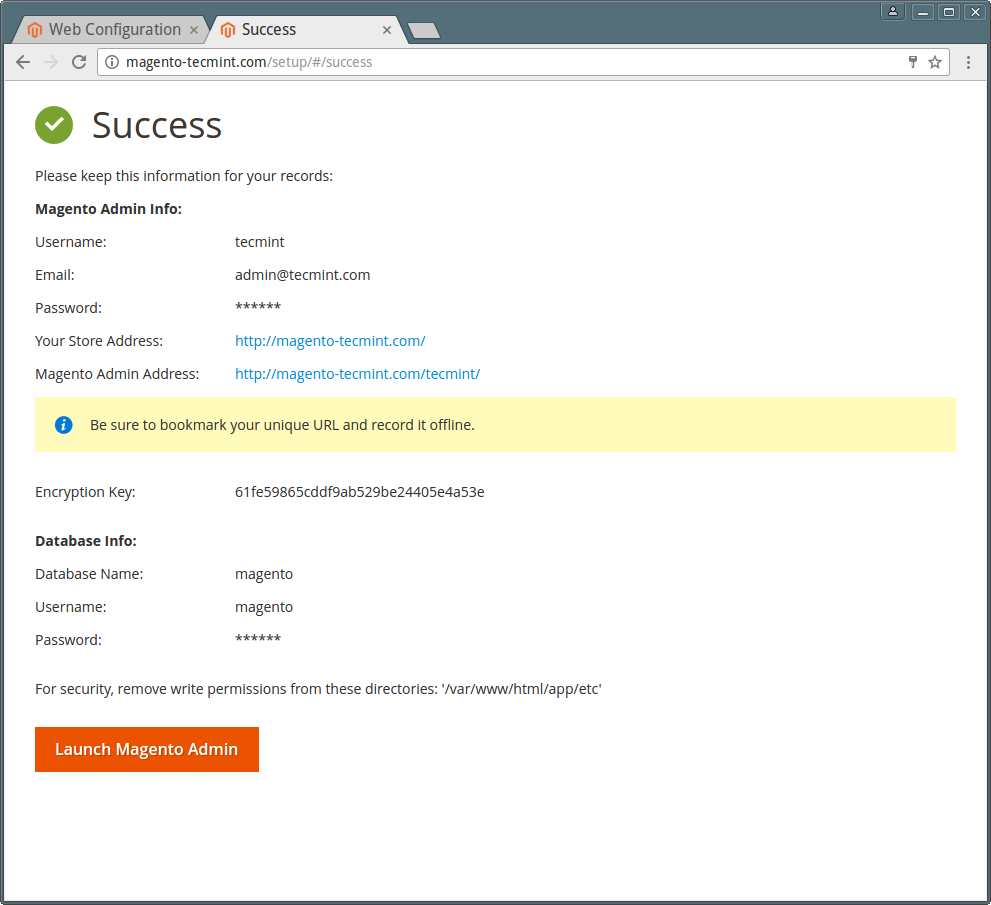
That’s it! you have successfully installed Magento in CentOS 7.